

ultra hold iron-on adhesive ( I used Heat ‘N Bond, but any brand will do)
t-shirt
scissors
fray check
iron and ironing board
First off, I need to tell you that the iron-on adhesive needs pretty high heat to adhere, so use a press cloth to prevent your ribbon from burning... I just used a tea towel. Also, if you’ve never worked with and iron-on adhesive, it is double-sided. The rough side is the side with the glue. The smooth side has glue too, but there is a liner over it. Now for the tutorial:
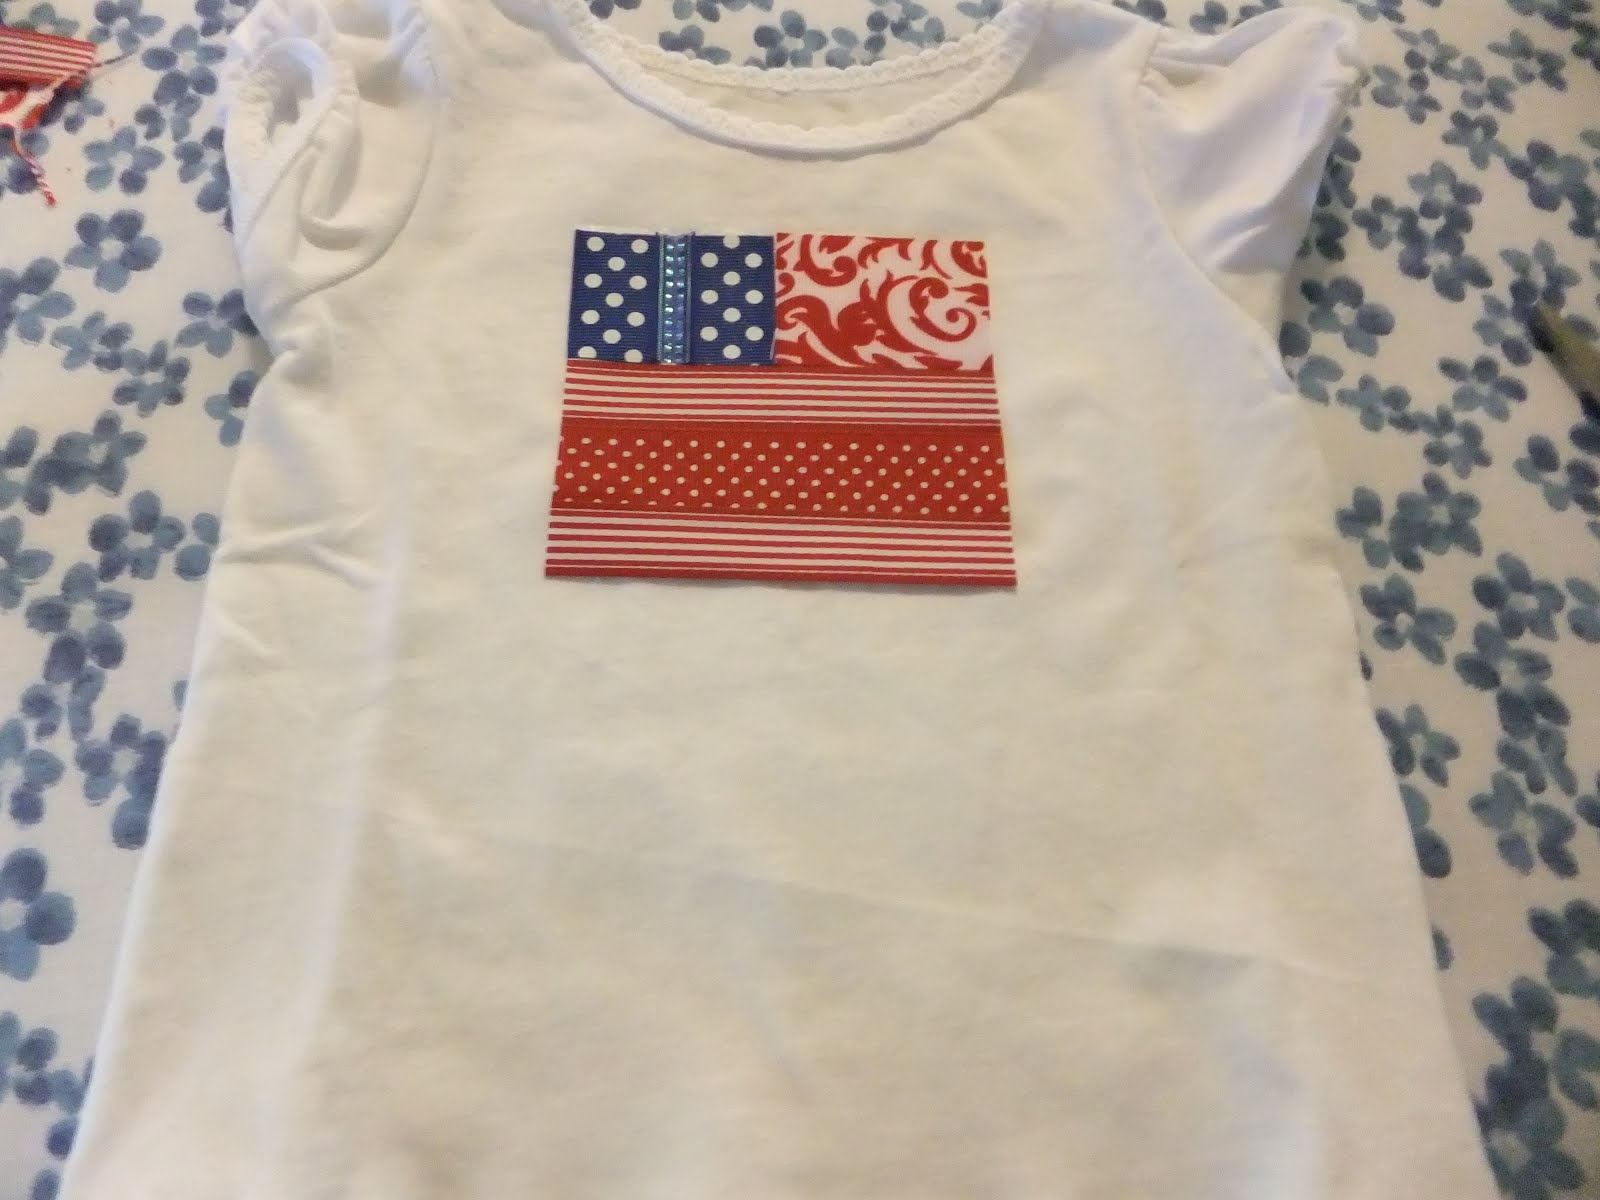
1) Cut the iron-on adhesive into a rectangle. Use your t-shirt to help you decide the size of your rectangle. Lay the rectangle on the ironing board, rough side up. Cut the blue ribbons all the same length, about 1/3 the length of your rectangle and arrange in the top left corner of your rectangle (rough side up.) Cut a few red/white ribbons to reach from the blue ribbons to the end. Put a little fray check on the raw edges of the ribbons to keep them from fraying when you wash the shirt.

2) Cut a few red/white ribbons to reach all the way across the rectangle and arrange them below the blue.


No comments:
Post a Comment